Standard Options
/
Pricing
/
Accessories
/
Installation
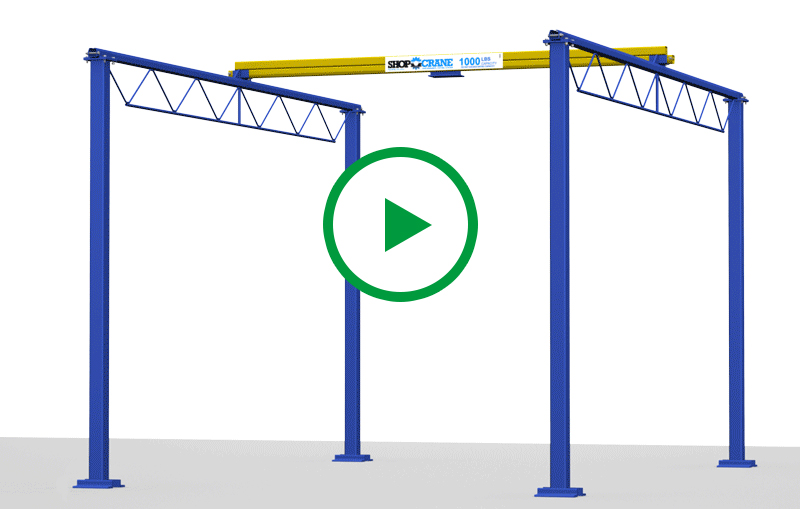
Available from 4’ - 20’ spans
The span, or width of the crane, is measured from the inside of a support column to the inside of the opposing column. For example, a system with an 8’ span would perfectly fit a garage door with an 8’ clearance.
Available from 8’ - 20’ heights.
The actual overall height is 2-inches shorter than the displayed height to allow for free bridge movement beneath the ceiling. For example, a system with an 12’ height would move freely in a garage with a 12’ ceiling.
All Shop Cranes were designed to fit the depth of a single stall garage, and have a standard length of 8’ - 20’ in 1’ increments, from the outside edges of the column baseplates.
Splice two Shop Cranes together with a splice kit. See our accessories page for more details.
Download Product Brochure
Shop Crane is available in a variety of configurations to best fit your garage. The price range for a basic Shop Crane 1000 pound system is $5,009 to $5,229 and for a 2000 pound system is $7,619 to $7,839 Prices vary depending on your exact configuration and accessories.
For a fast quote on a Shop Crane system, visit our Contact Us page for information about how to contact our team.
CONTACT US
Add power to your lifting with a 1000 or 2000 pound capacity electric wire rope winch. The wire rope winch comes with a modified trolley.
A convenient, economical solution for lifting that does not require power. The manual chain hoist comes with a standard hoist trolley.
For applications where two points of lifting are necessary, such as wide loads or lifting a car body from the chassis, a second bridge can be added to your shop crane system.
Attaching a tagline kit to the runways of your Shop Crane allows for electrical cables or air hose to be conveniently and neatly festooned to keep your work space free from tripping hazards.
Increase the overall height of your system with 1-foot tall column extensions, ideal for getting extra lift from your system or column placement in an area with a step or floor drain. The extensions bolt to the existing columns and are sold individually.
Double the length of your system with a runway extension kit. This spice joint attaches easily without welding or cutting, and is an excellent way to cover longer work areas.
Properly measure the height, width and length of the area where you will be installing the Shop Crane before purchasing to insure that you select the right configuration.
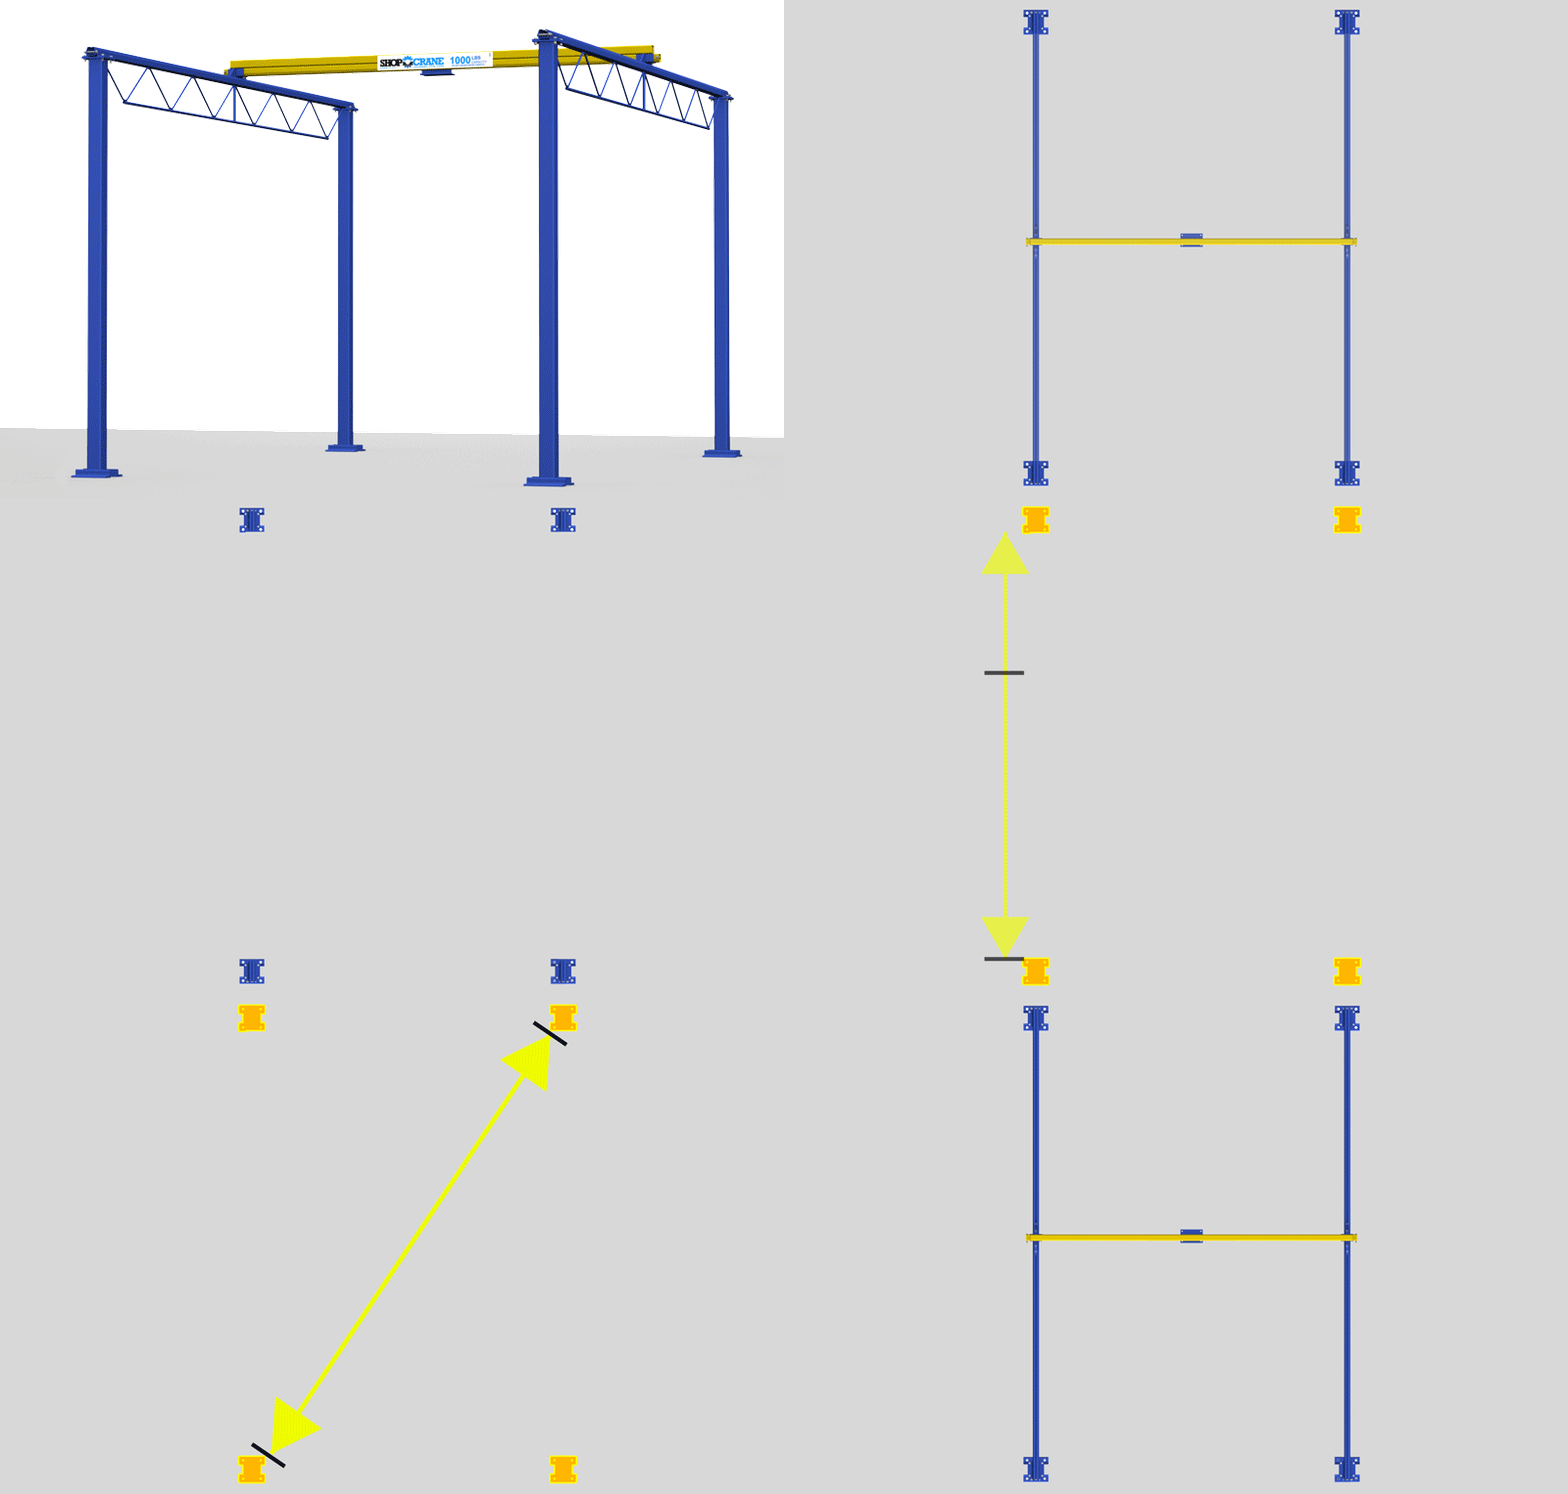
When you are ready to install the crane, measure and mark the floor where the columns will go. Be sure to measure diagonally across the system to check that the system will be square. Runways must be parallel for smooth bridge movement.
Download Installation Manual
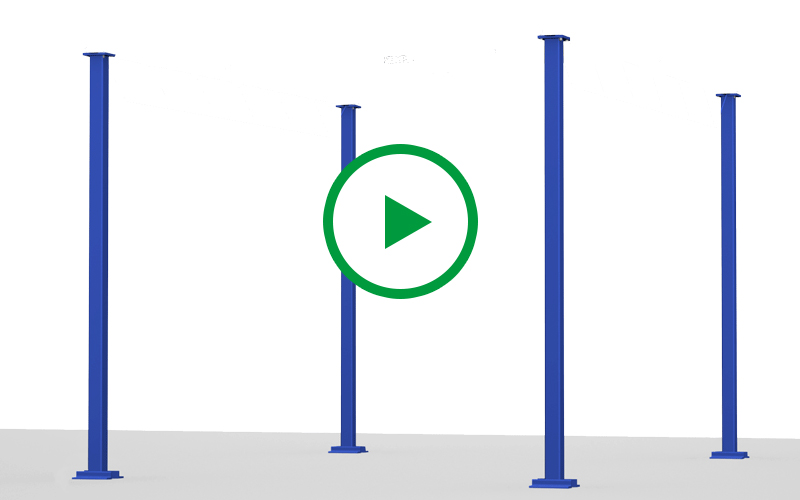
Once your floor is marked with the location of the support columns, stand one column and drill holes in your concrete floor using a hammer drill. Shim columns if necessary to make them plumb. Secure with lag bolts. Repeat for all four columns, measuring between each to confirm that the system is still square.


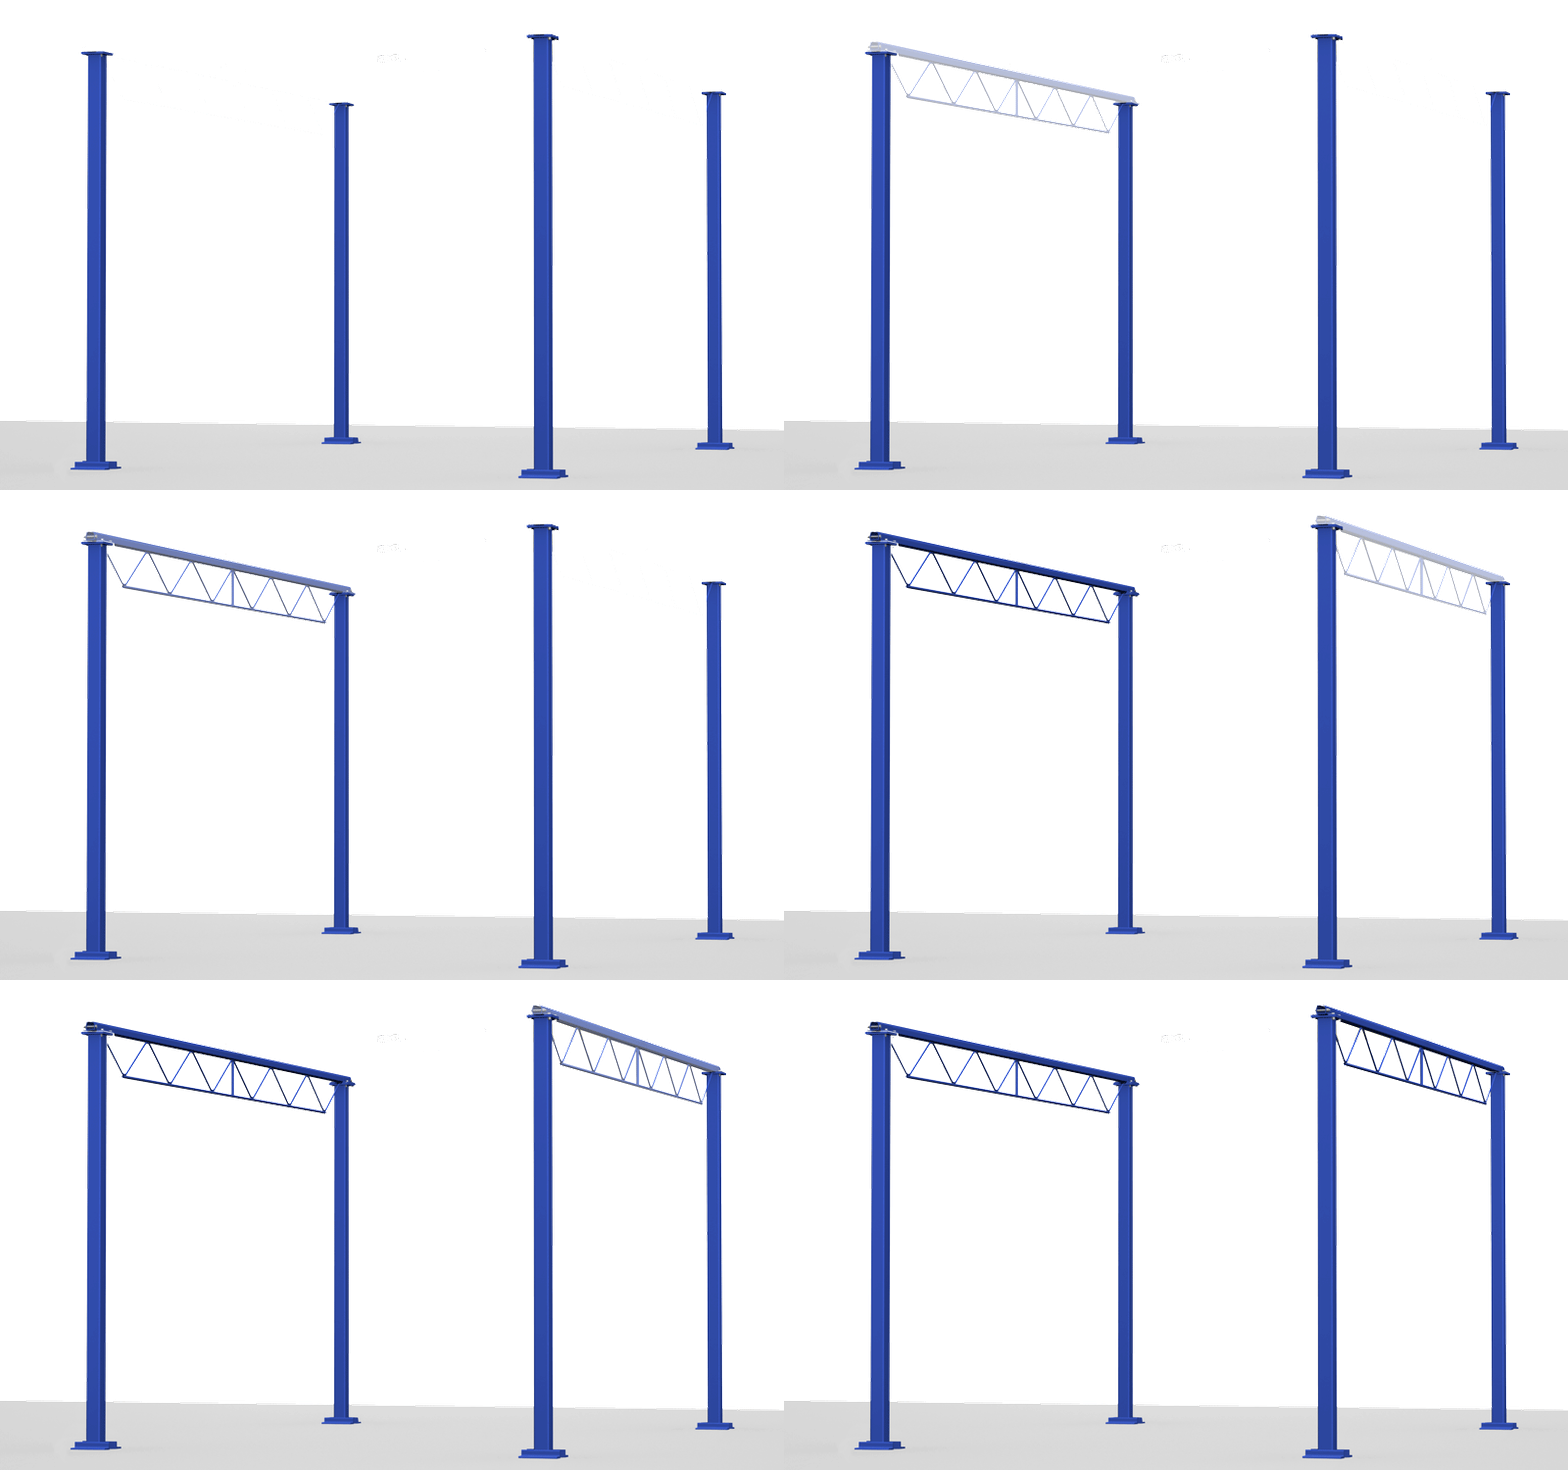
With two people, carefully walk the runway up two step ladders and place runway on top of the column plates, then secure bolts.
With one end stop secured on the bridge, slide the trolley onto the bridge, then secure the second end stop.
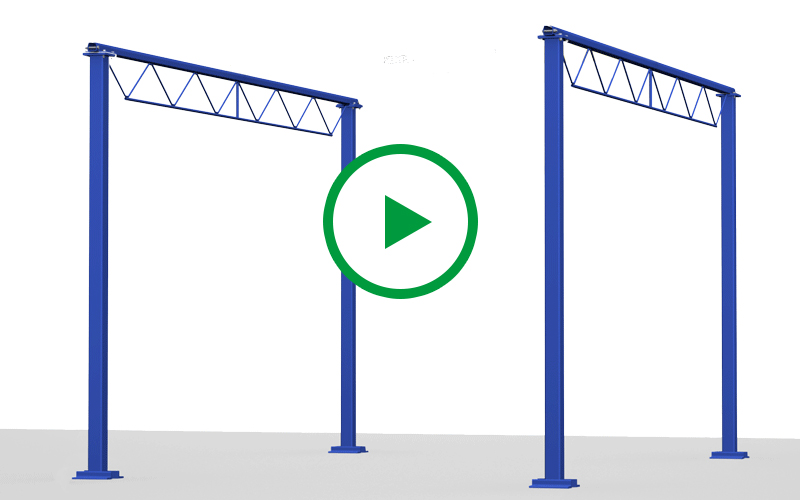
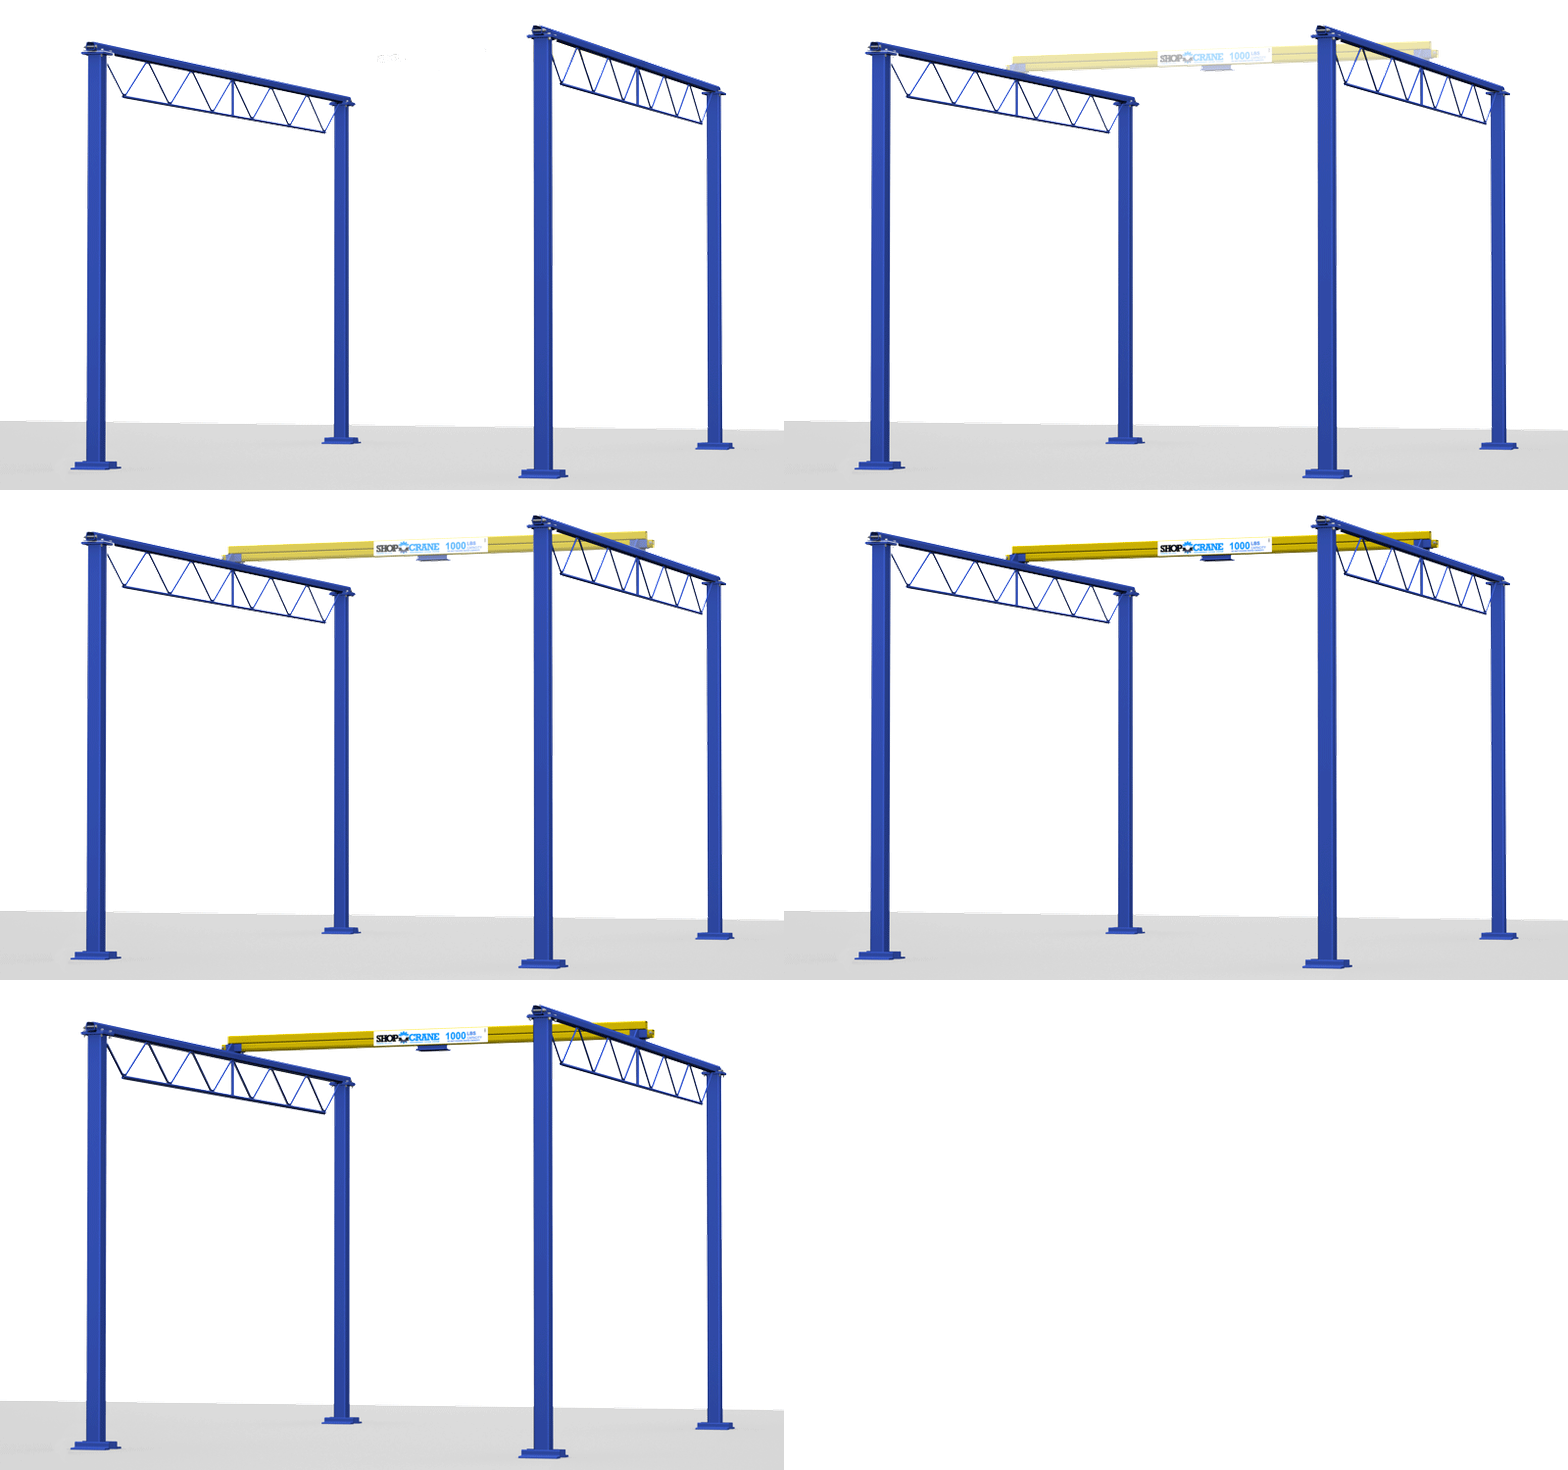
Check the level of the runways and bridge, adding additional shims if necessary. Both runways and the bridge must be level to avoid accidental bridge movement.